
As a result of improperly installing Steam through the internet or the Software Center, some updates on the provided school laptops are being affected. The guide that follows has been made to insure that future updates will not be disrupted by properly installing Steam. So without further ado, lets get started.
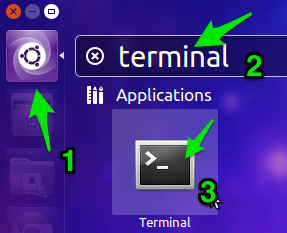
1: On the Dash type the word terminal in order to open up the Terminal.
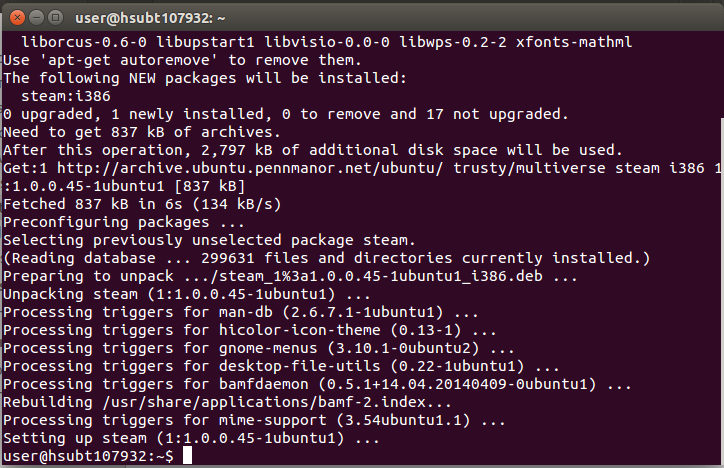
2: Type in the following EXACTLY how it is written:
sudo apt-get install steam
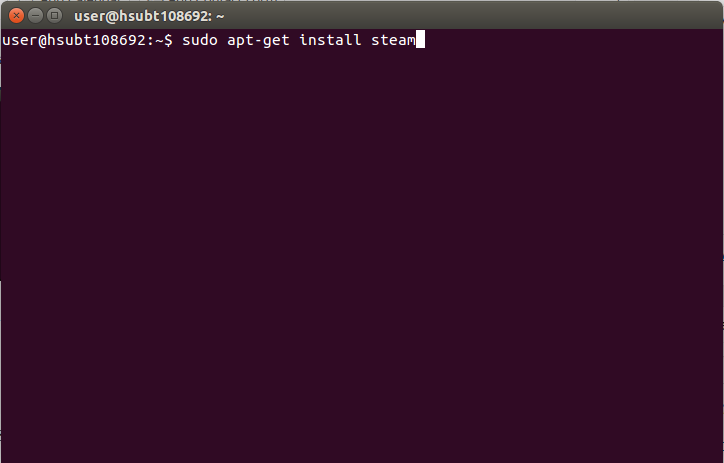
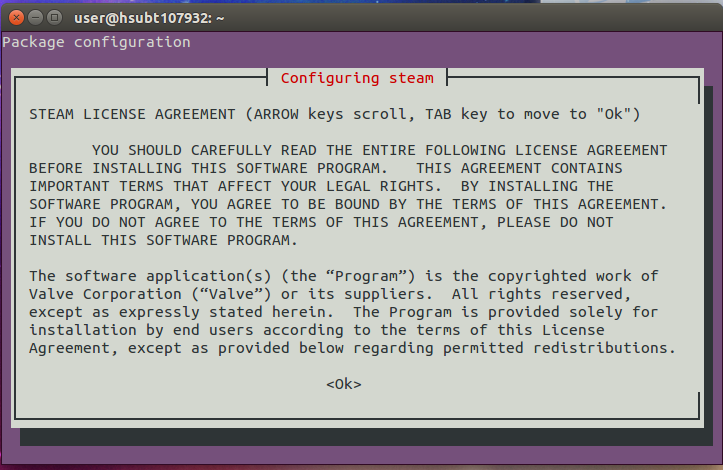
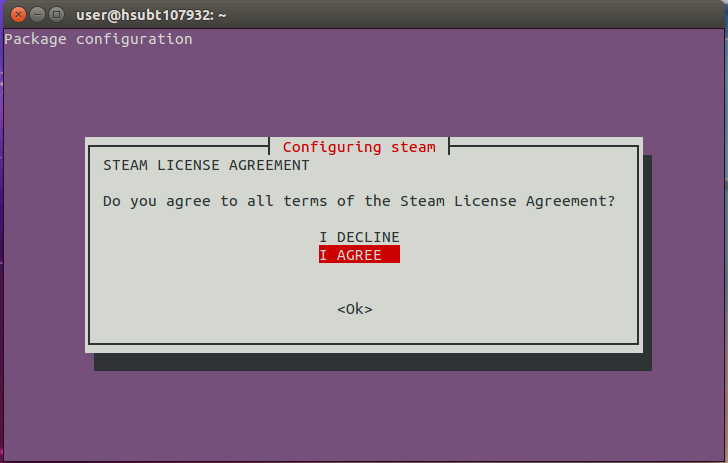
3: After typing the command shown above, press Enter and accept the licensing prompts.
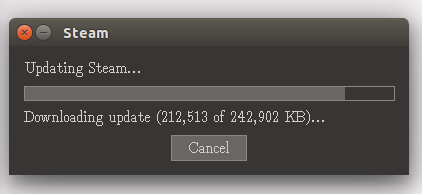
4: Once Steam is installed open it up and let it perform its launcher updates.
5: Once Steam has finished all of its updates you can either create or log into your steam account.

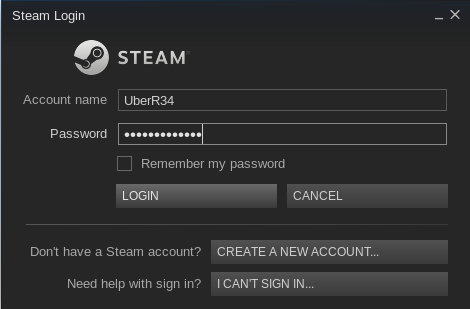
Congratulations! If you have made it to this point you have properly installed Steam in a way that it will not interfere with future updates, and you have logged into your account. You will likely not be able to connect to the log-in servers at school because of the web filter or internet bandwidth. However while logged onto other internet networks besides the district wide internet you will be able to experience everything Steam has to offer for Ubuntu.