
![]() Although the 1:1 Laptop Project provides students with a wide selection of applications installed on their 1:1 laptop, there are thousands of other “apps” available to students to install on their system. Similar to the App Store found on Apple iOS devices or the Google Play Store found on Android phones and tablets, the Ubuntu Software Center is a vast software catalog. There are many categories with hundreds of apps, including education, graphics, productivity and multimedia. The Ubuntu Software Center is included on the 1:1 systems and is the recommended channel for downloading and installing apps. Continue reading to find out more about the Ubuntu Software Center and how to find and install apps on your 1:1 laptop:
Although the 1:1 Laptop Project provides students with a wide selection of applications installed on their 1:1 laptop, there are thousands of other “apps” available to students to install on their system. Similar to the App Store found on Apple iOS devices or the Google Play Store found on Android phones and tablets, the Ubuntu Software Center is a vast software catalog. There are many categories with hundreds of apps, including education, graphics, productivity and multimedia. The Ubuntu Software Center is included on the 1:1 systems and is the recommended channel for downloading and installing apps. Continue reading to find out more about the Ubuntu Software Center and how to find and install apps on your 1:1 laptop:
Before we begin, please keep in mind that any additional software installed on 1:1 laptops, paid or free, is the responsibility of the student.
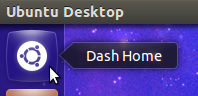
To begin, you must find and launch the Ubuntu Software Center. First click on the “Dash Home” (Application Menu) icon at the top of the launcher bar on the left side of your screen.
After the menu appears, click in its search box and type “software center”. Click on the “Ubuntu Software Center” icon that appears below the search box.
![]()
After the Ubuntu Software Center launches and loads its home screen, you will be presented with different categories of applications available to install on your system. Choose one of the software categories in the sidebar at the left side of the window or browse through the “What’s New” or “Top Rated” lists of apps.

If you find an application you wish to install on your system, click on its icon or title to load its detailed information.
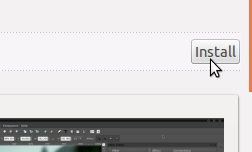
To install the app that you are currently viewing, click the “Install” button towards the top right of its description.
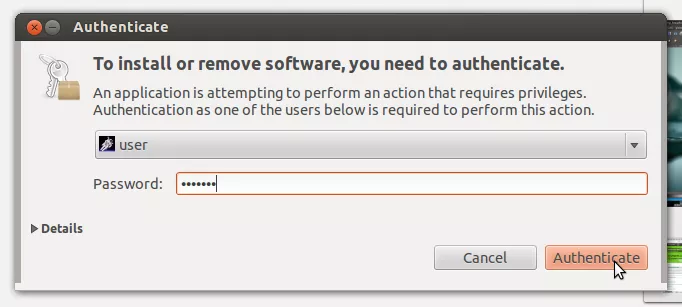
You will then be prompted to enter your computer’s password. Enter your password in the authentication window’s “password” field and click the “Authenticate” button.
As the application is downloaded and installed from the Ubuntu Software Center repository, the “Install” button will change to a progress bar indicator.
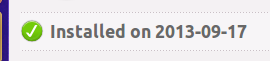
When the installation of the new application is complete, you will notice that on the left side of the app’s details it will state the date it was installed. To launch the newly installed app, you can search for it in your Applications Menu or find it in the list of installed programs on your system.
If you have any questions or concerns regarding downloading and installing additional software applications on your 1:1 laptop, please see a student tech support technician at the 1:1 Student Helpdesk.
Pingback: Simple Programs for Editing Photos