
Mixxx like Pitch Perfect!
If you are a fan of the movie Pitch Perfect you will be excited to know that the music software Anna Kendrick is shown using on the screen is actually an Open Source program that you can easily install on your Ubuntu laptop. The program name is Mixxx. For whatever reason Hollywood chose to blur/change the program’s name whenever the camera was pointed at it, but it’s easy to identify it as Mixxx.
Mixxx is an audio program that allows you to mix together two music tracks and produce a new one based on that mix. Mixxx is easy to use. Continue reading to learn how to install it on your laptop as well as how to create a quick mix –and remember: if you have any problems following this tutorial just stop by Room 200 and we will help you.
1. Click on the Dash and type the word terminal and launch the Terminal application by pressing Enter or clicking on the Terminal icon.

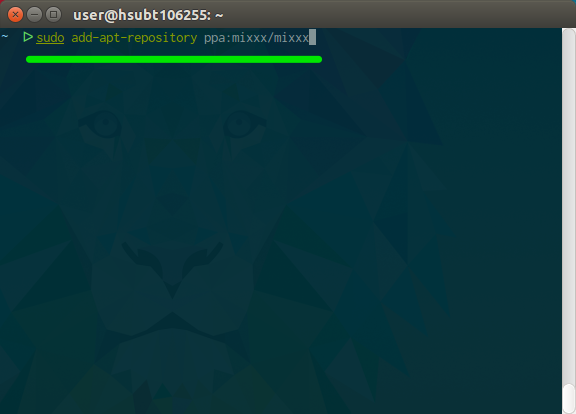
2. On the Terminal window type the following command and press Enter:
sudo add-apt-repository ppa:mixxx/mixxx
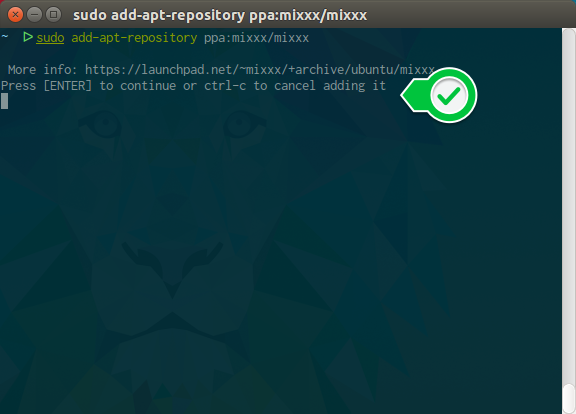
…and press Enter again in order to accept the command and continue:
…and you will see some lines of text appearing:
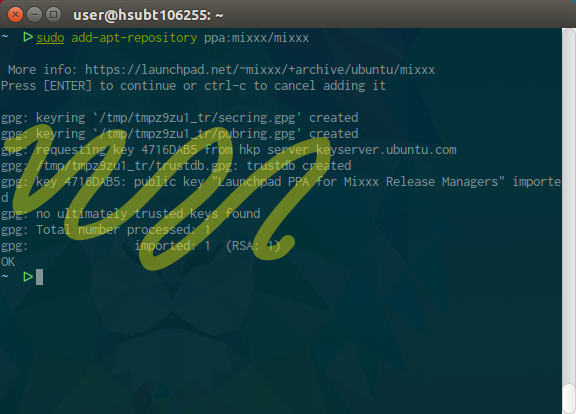
…wait for the cursor to appear again.
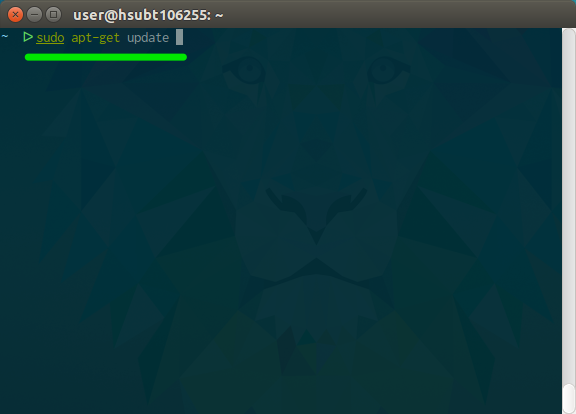
3. Now type the following command and press Enter:
sudo apt-get update
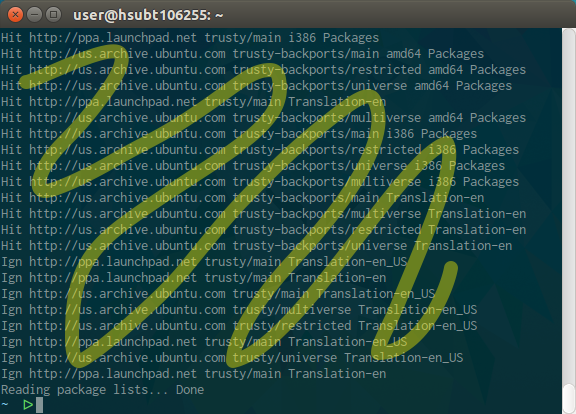
… and the Terminal will display a lot of text lines. Wait for the cursor to appear again.
…wait for the cursor to appear again.
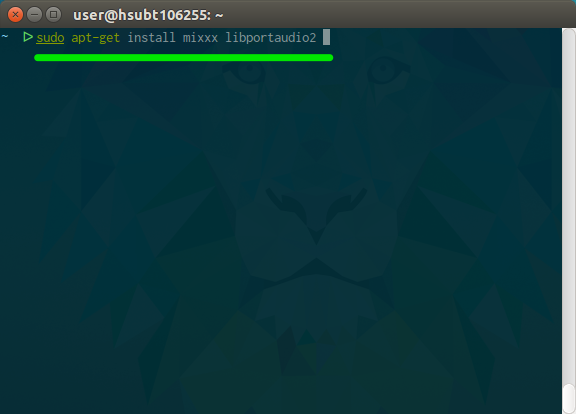
4. We are almost done. Now type the next line and press Enter:
sudo apt-get install mixxx libportaudio2
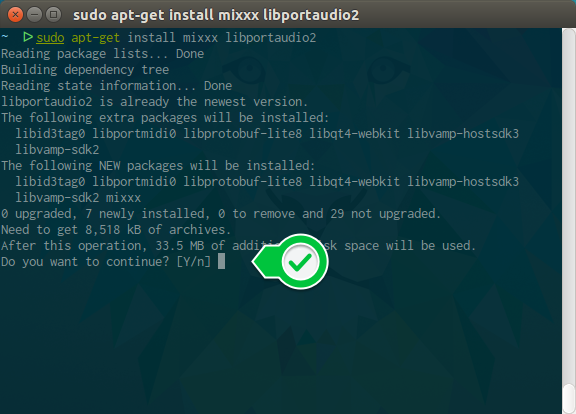
…and press the Y key in order to accept the installation of Mixxx:
…again you will get several lines of text. Once you see the cursor prompt again Mixxx will be ready to use.

…wait for the cursor to appear again.
That’s it. The latest version of Mixxx is now on your computer. Keep reading if you want to learn how to make a quick mix.
Create a quick mix track!
To follow this exercise you will need to have a folder on your computer with at least two music files in it. The music files can be MP3, AAC, FLAC, WAV, etc.
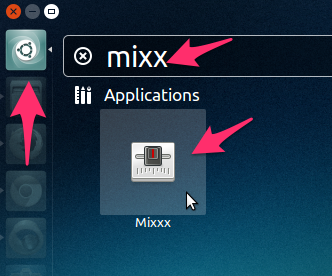
1. Now let’s start Mixxx! Click on the Dash and type the word mixxx and press Enter:
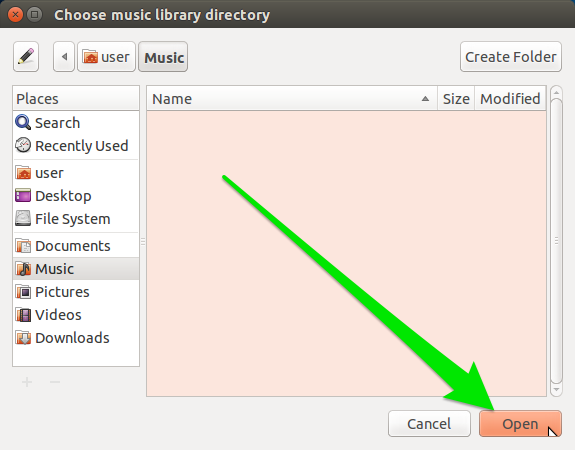
2. The first thing Mixxx will do is to ask you where your music files are stored. By default it will use the Music folder. If your music files (MP3s, FLACs, etc.) are stored somewhere else just select the proper folder. Once you have selected the folder with your audio files click the Open button.
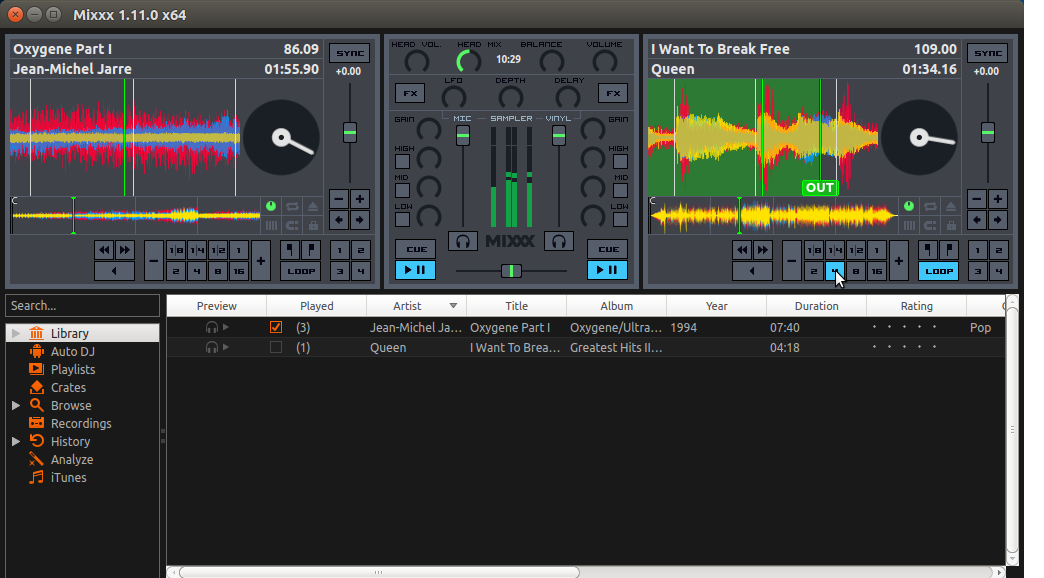
3. This is Mixxx‘s main screen. You have two Decks. The Decks are were you load up the songs to mix. The Mixer section let’s you control how the different Decks and samplers are mixed together. The Audio Tracks section lists the music files on your computer.
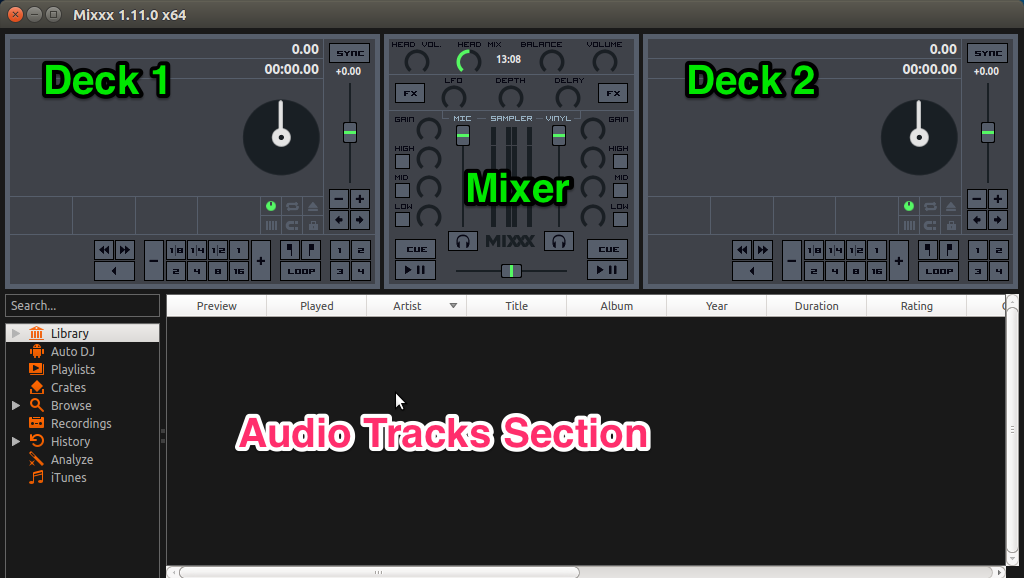
This is Mixxx’s main screen.
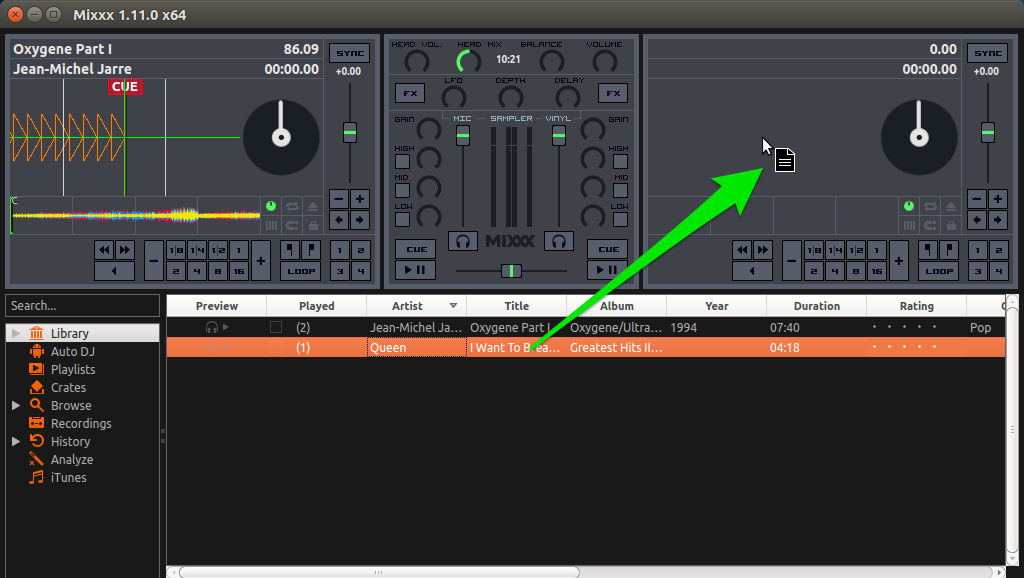
4. Let’s create a mix! Drag one song from the Audio Tracks section to the left Deck, Deck number 1. Make sure you click on the song name to be able to drag it:

Drag a song to a Deck by clicking on the song’s name.
5. Now let’s drag the second song from the Audio Tracks section to the right Deck, Deck number 2.
Drag a song to a Deck by clicking on the song’s name.
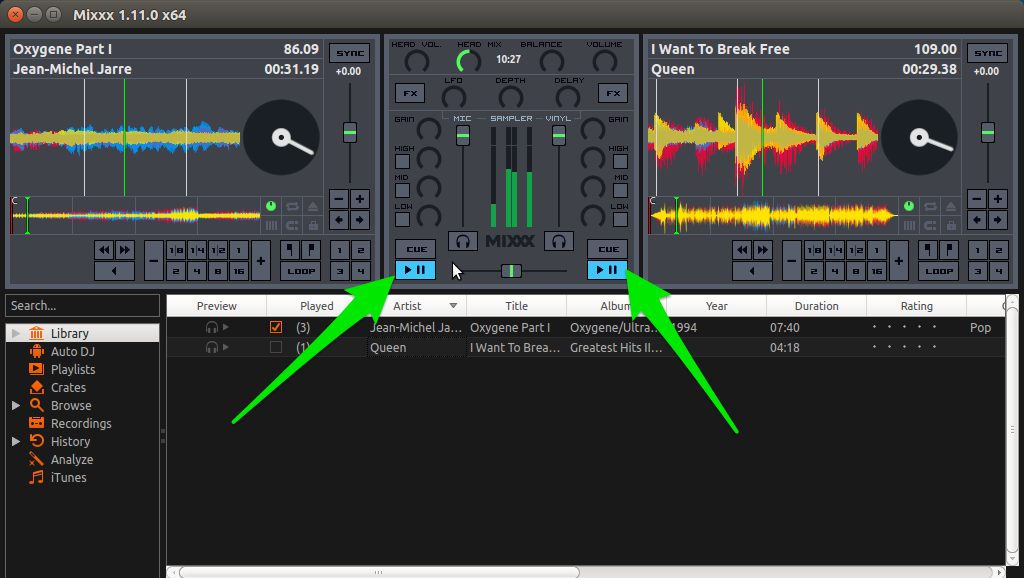
6. Now we are ready to start the mix! On the Mixer play on the left Play button to start the song in Deck 1; then click the right Play button to start the song in Deck 2. Remember: you decide when to start playing any of the songs in the Decks. For this exercise we started them at the same time.
7. Let’s increase the speed of the song on Deck 2 by pushing up the Rate Slider on Deck 2.
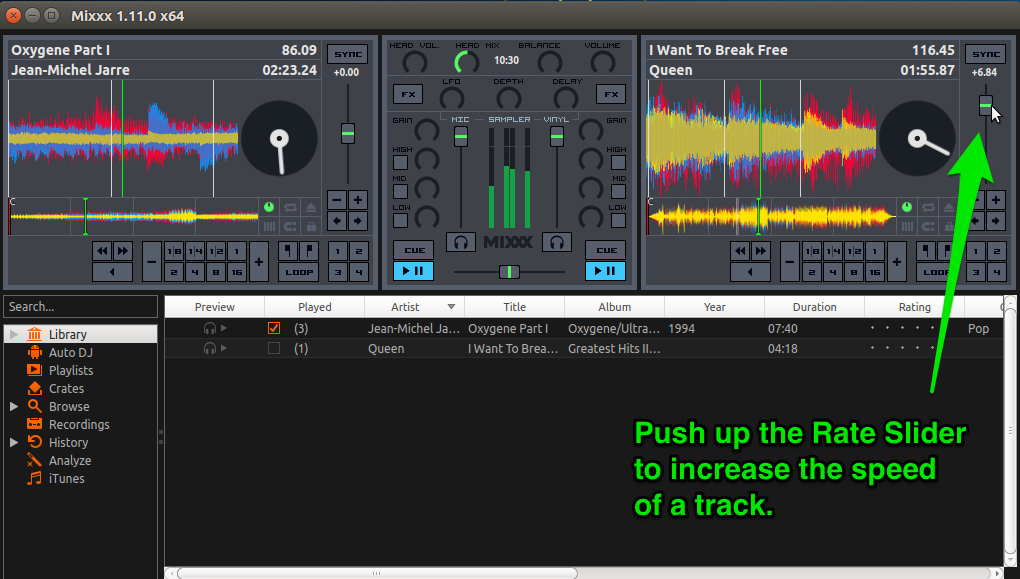
You can increase or decrease the speed of the songs at any time during your mix.
8. Now lets add a beat loop to the song in Deck 2. To add an instant loop with a duration of 4 beats click on the 4 button on the Loop Controls of Deck 2.

The numbers on the Loop Controls represent beats. To stop an instant loop click on the Loop button.
…and click on the Loop button to stop the beat loop.
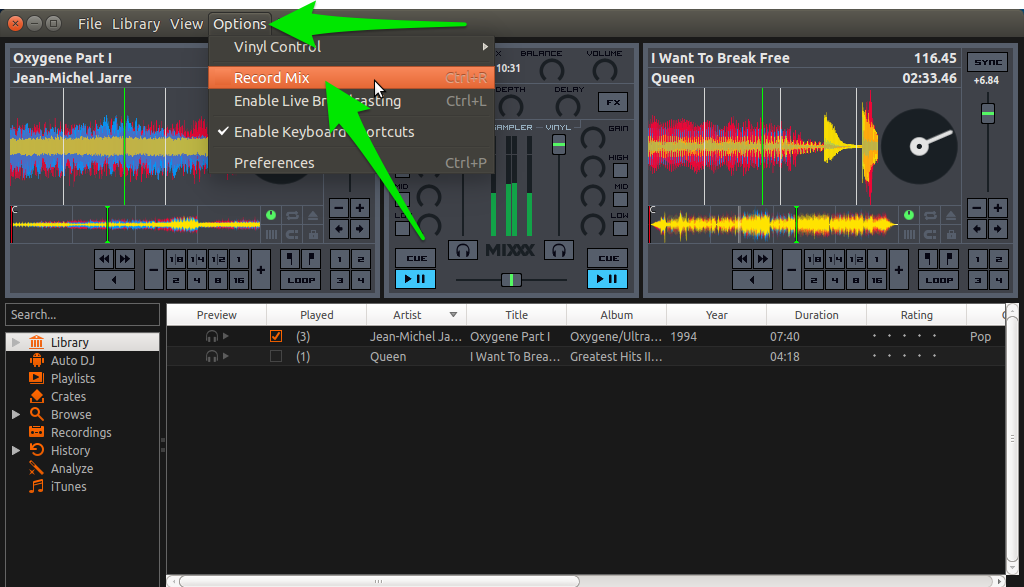
9. Once you have played with the program for a little while and you got the hang of it, start recording your mixes by clicking on the Options menu and selecting Record Mix. You can also press Ctrl – R on your keyboard to start recording.
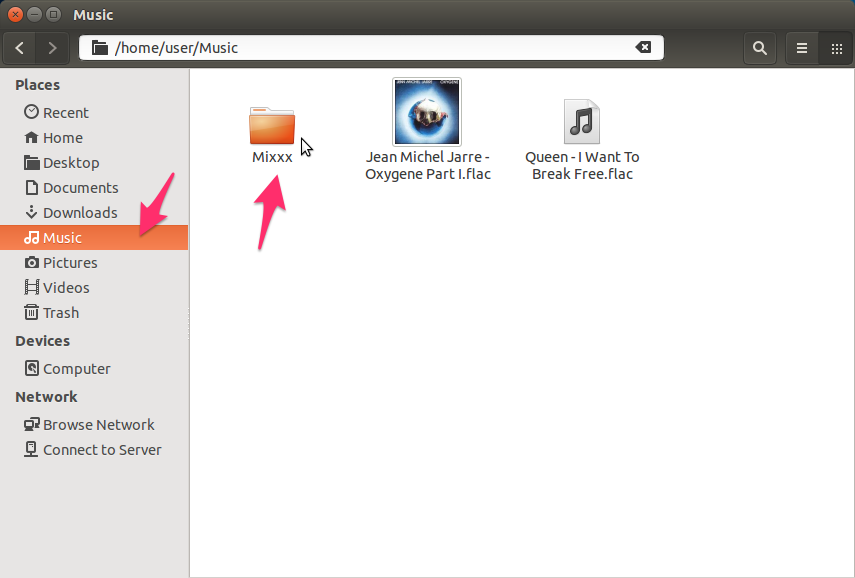
Your mixes will be stored in a Mixxx folder created by the Mixx program:


Stay tuned for more articles on how to use Mixxx!