
Hey everyone! You will be reading about how to take amazing pictures on this cool webcam program. Similar to the Photobooth program on Mac computers, you can edit your pictures on spot before you actually take the picture. Let’s begin!
First, you want to look at the top left corner of your screen. The first icon at the top is the Dash; once you see it, click it.
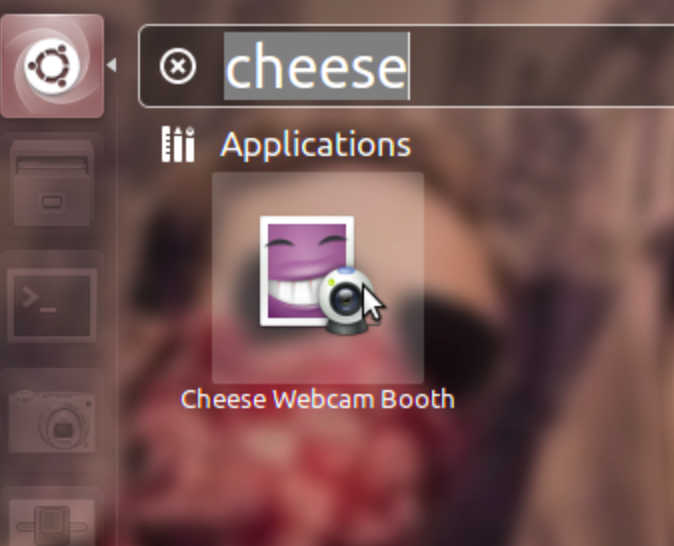
Once the dash page comes up, type in
‘Cheese Webcam Booth’
Or like I did, just type ‘cheese’ and click on the icon shown down below.
Once you click on it, you’ll get this window:

By the way, on the screen shown above I was putting my finger over the camera, if anyone was wondering why a face wasn’t popping up. I’ll also let you guys play around with the effects.
Reminder! You have to press an effect in order to take a picture.
If you look towards the bottom left, you will see these three buttons:
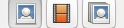
Left button: Photo Mode – Allows you to take a photo.
Middle button: Video Mode – Allows you to take a video.
Right button: Photo Burst Mode – Just starts taking many pictures for however long period of time you want.
If you took a picture and you have no clue where it’s at, then you’re in luck.
You must go to your files in your left bar

Once you click it, go to
‘Pictures’
![]()
Once you’re there, there should be a folder called
‘Webcam’
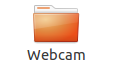
All your pictures will go there.
Just a tip guys, you know your camera is on when a green light next to it is on.
Hope you guys enjoy this webcam software! 😀
Pingback: How to Save Files on Cheese