
Discord will allow you to easily communicate via voice or text with your friends by setting up your own communication server. Discord is aimed to replace programs such as Skype (a memory hog) and TeamSpeak (which is not free). This web app will give more control over your communication sessions as well as the people using your server. You can even get support via Twitter!
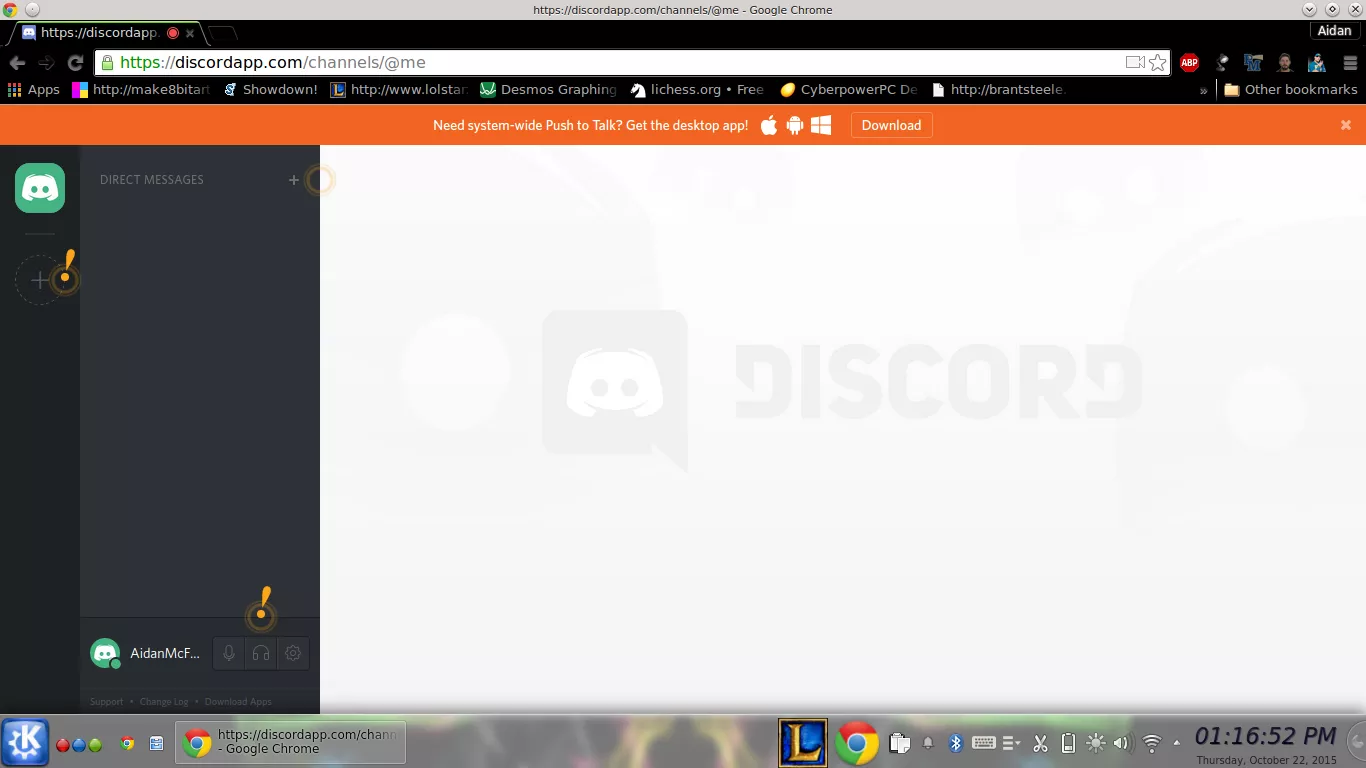
First go to https://discordapp.com/ and click {Open Discord}
Enter your User Name then you’ll arrive at a screen like the following:
Click {Get started} and you’ll see a screen like the image below:
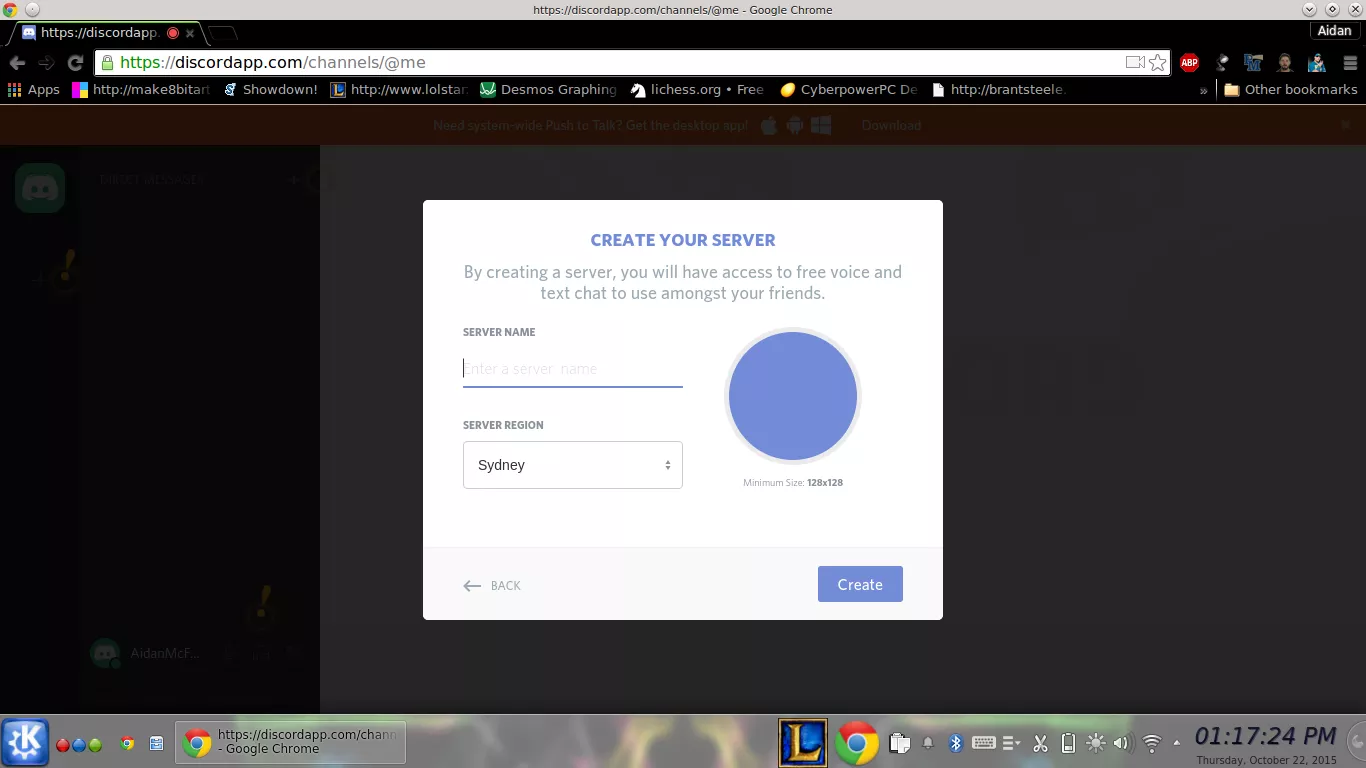
Enter your preferred server name and location (this will be US West).
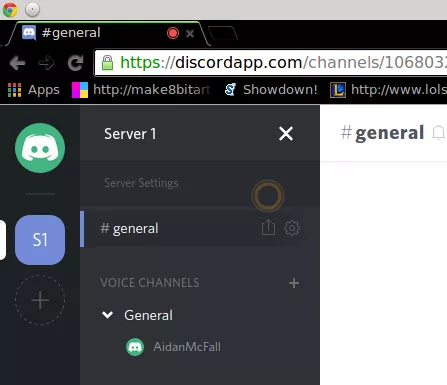
Now you can begin to customize your server:

Click on {Server Settings}.
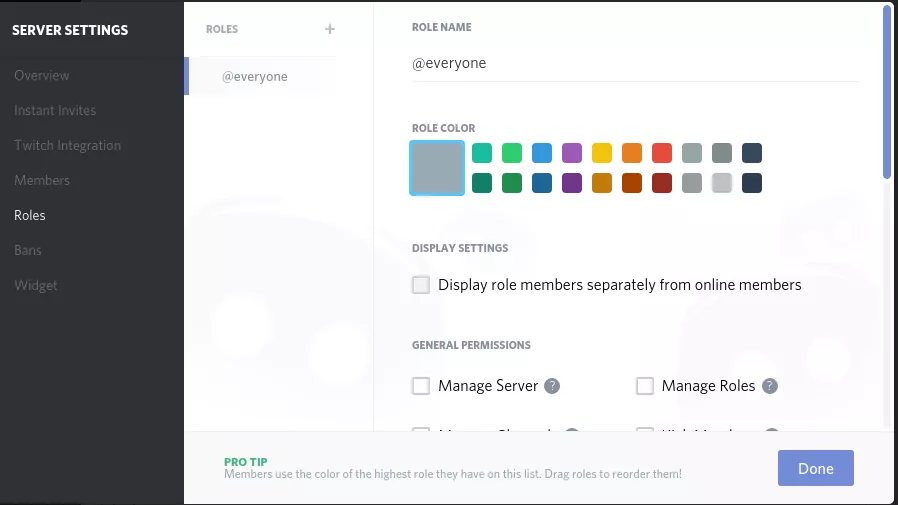
This is where you can easily customize the majority of the settings for your server.

Now Click on {Roles}. Roles are the permissions you will give to your server users.
Now click on {new role}

You can name the role whatever you want, I named mine “manager”.
You can then scroll down and set the permissions for the role (notice that kick members is checked for the manager role). This means that any user that is a manager is able to kick out other members.

Click outside of the settings window. You will now need to get the link to your server for others to join. That can be found below:

Click on the save icon (as seen below):

Then copy your code and give it to whoever you wish to join your server (codes will expire after 24 hours unless specified otherwise).

Now people will be able to join your server. If you wish you can click on there name and then kick or ban the user.

Here is how to assign roles to people on your server.
Go into {Server Settings}, the select {Members}

Click on the desired user and select what roles they should be a part of. Note that a member can be part of multiple roles.

Close out the settings window once again by clicking {Done}.
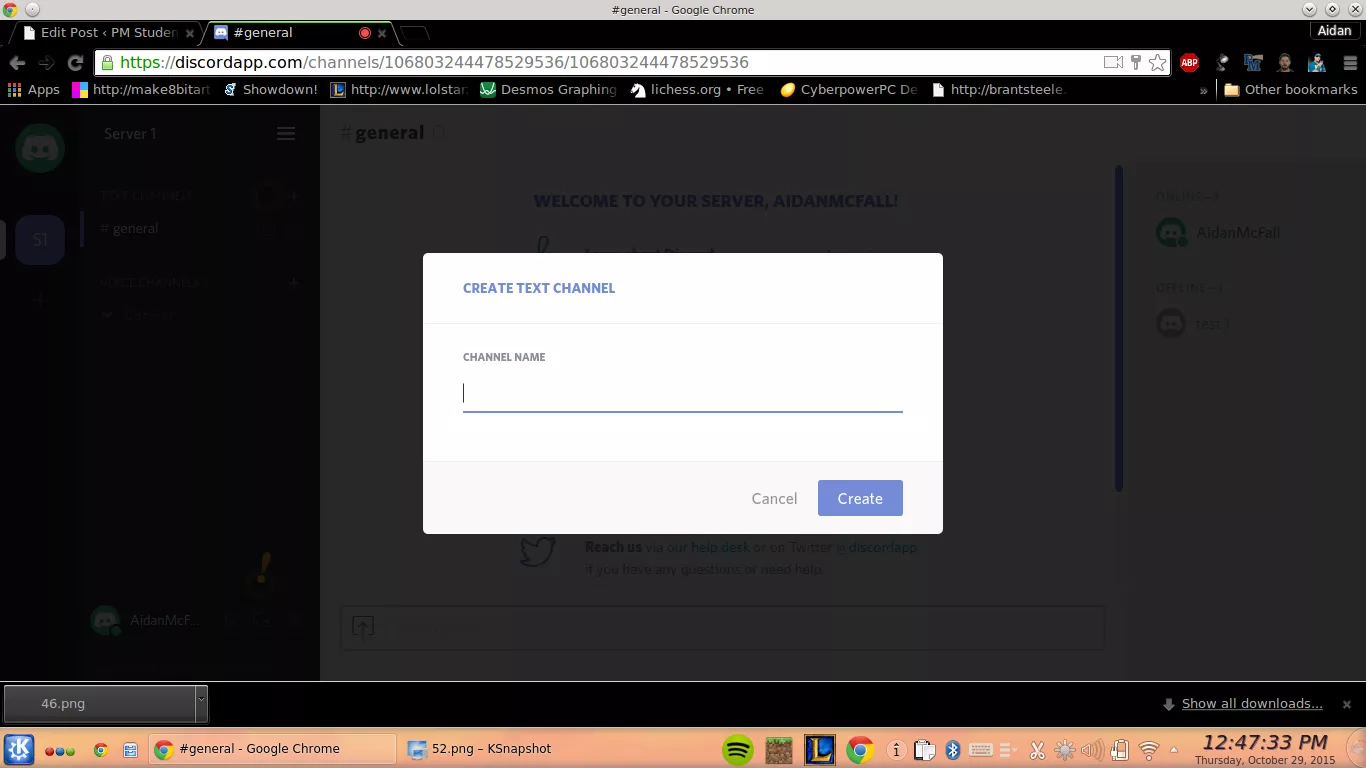
To make new text or voice channels follow these steps:
Click on the + sign next to {Text Channels}

Type in your desired name:
You can see the new channel below the {#general} room.

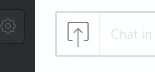
Finally, you can click the icon pictured below to upload files onto discord (useful if you want to share files with friends)
For a more in depth look at discord’s features please visit This Link or come to Room 200.