
![]() If you’ve ever used Instagram or edited a picture with your phone you’ve probably used a filter. A filter is a fully or partially automated process that alters an image for you. If you’re familar with filters on your phone, you’ve used fully automatic filters, with Gimp, you have full access to the settings of each filter, and you can do a much wider variety of things to your images. It’s not just for adding vintage effects to a photo, you can use a filter for practically anything.
If you’ve ever used Instagram or edited a picture with your phone you’ve probably used a filter. A filter is a fully or partially automated process that alters an image for you. If you’re familar with filters on your phone, you’ve used fully automatic filters, with Gimp, you have full access to the settings of each filter, and you can do a much wider variety of things to your images. It’s not just for adding vintage effects to a photo, you can use a filter for practically anything.
This tutorial is for people who have used Gimp before, and want to learn new skills. If you’re a first time beginner, check out our prerequisite post Intro to GIMP
In the taskbar of the main workspace window you will find the filters menu.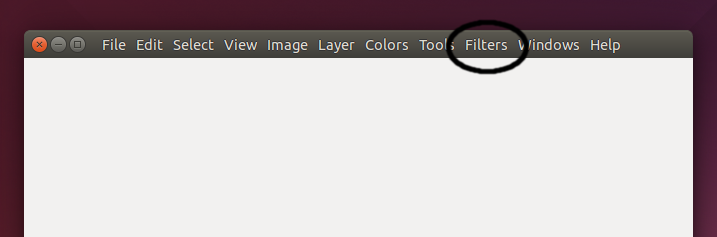
In the filters option you have quite a variety of options, you can apply effects that have obvious purposes, or ones that only would be used in highly technical scenarios. Here is how you can not only use a filter, but manipulate its settings to achieve a different outcome.
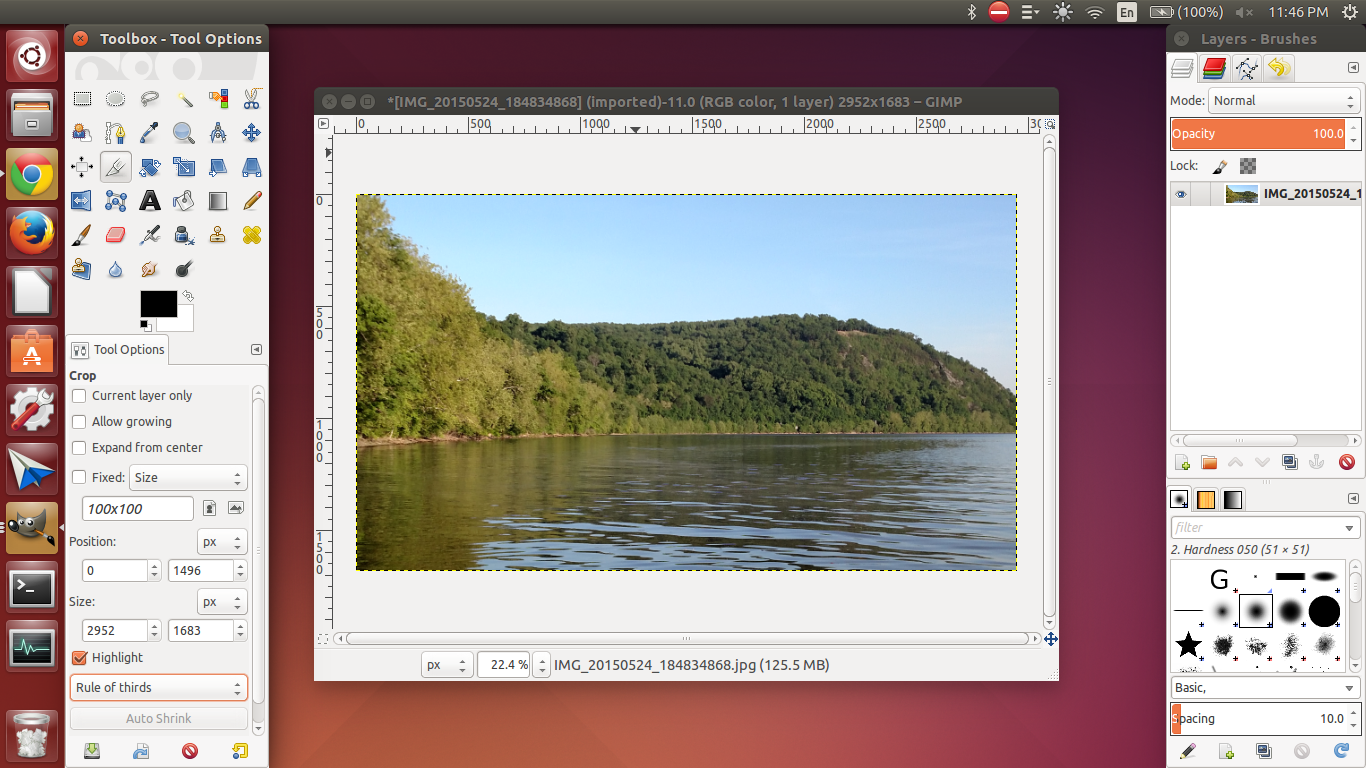
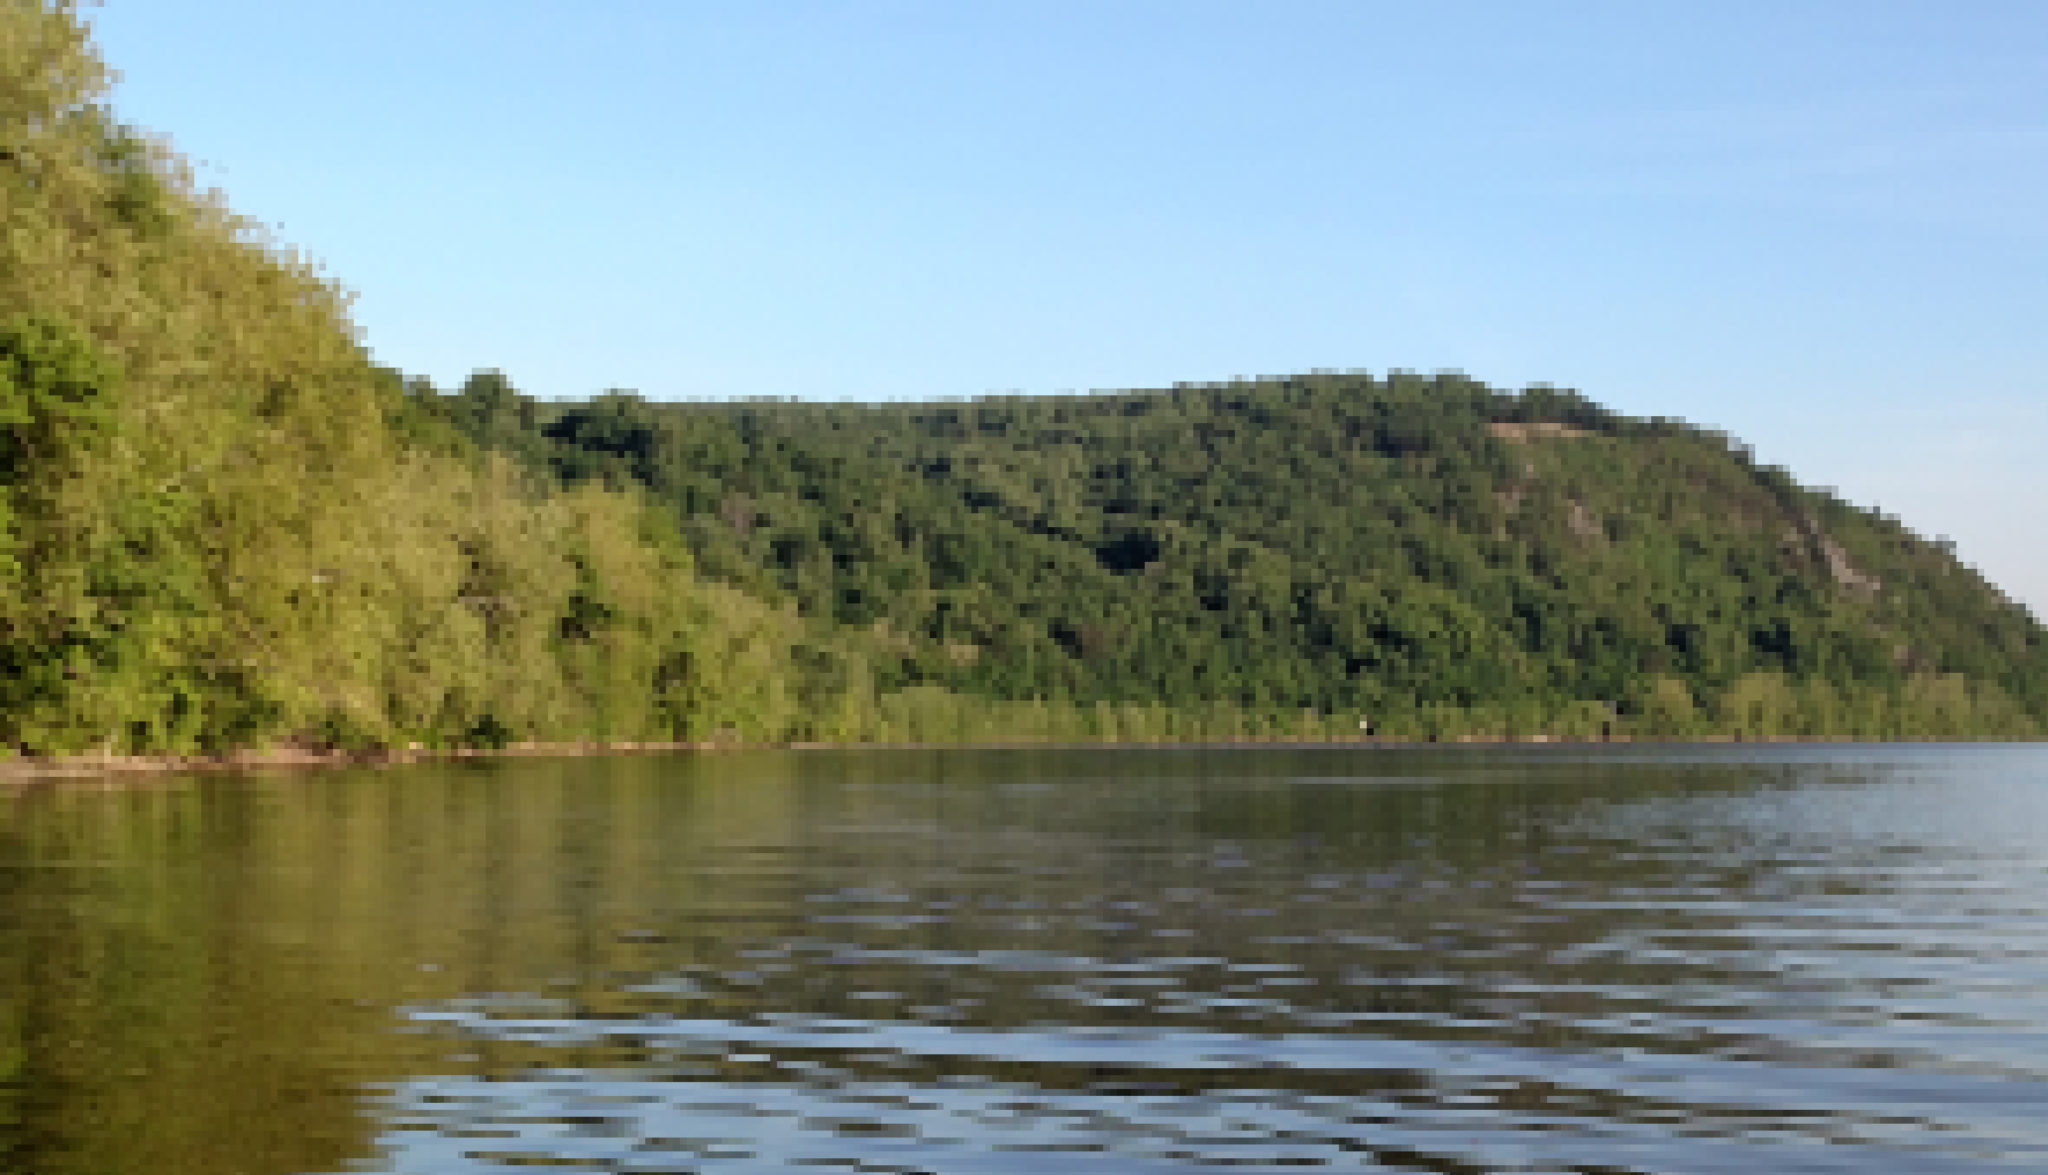
Start with any image to apply the filter to, if you have multiple layers it will only apply the filter to the selected layer.
Let’s first try the filter in Blur>Pixelize
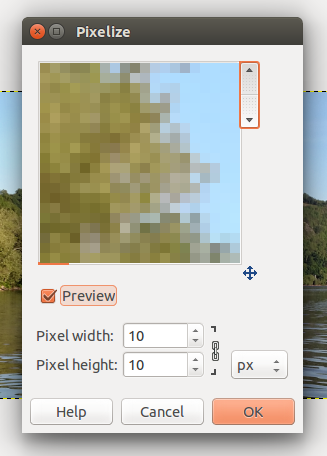
It’s pretty cool, it turns a picture into pixels, let’s leave it with the automatic settings and see what happens.
Pretty small difference, not very cool. It basically just looks like a bad picture now. That’s because the original picture was too big squares 10px wide to be very noticeable. So let’s go back into the picture and try to change the settings to something better.
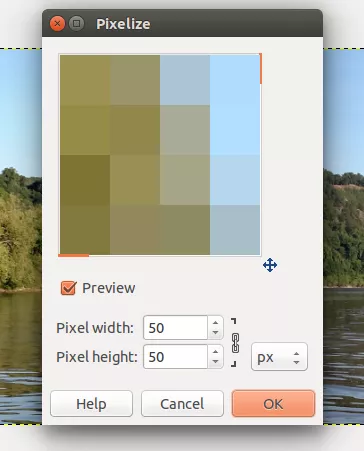
Hit Edit>Undo, go back to the filter, and change the height and width from 10 to 50.
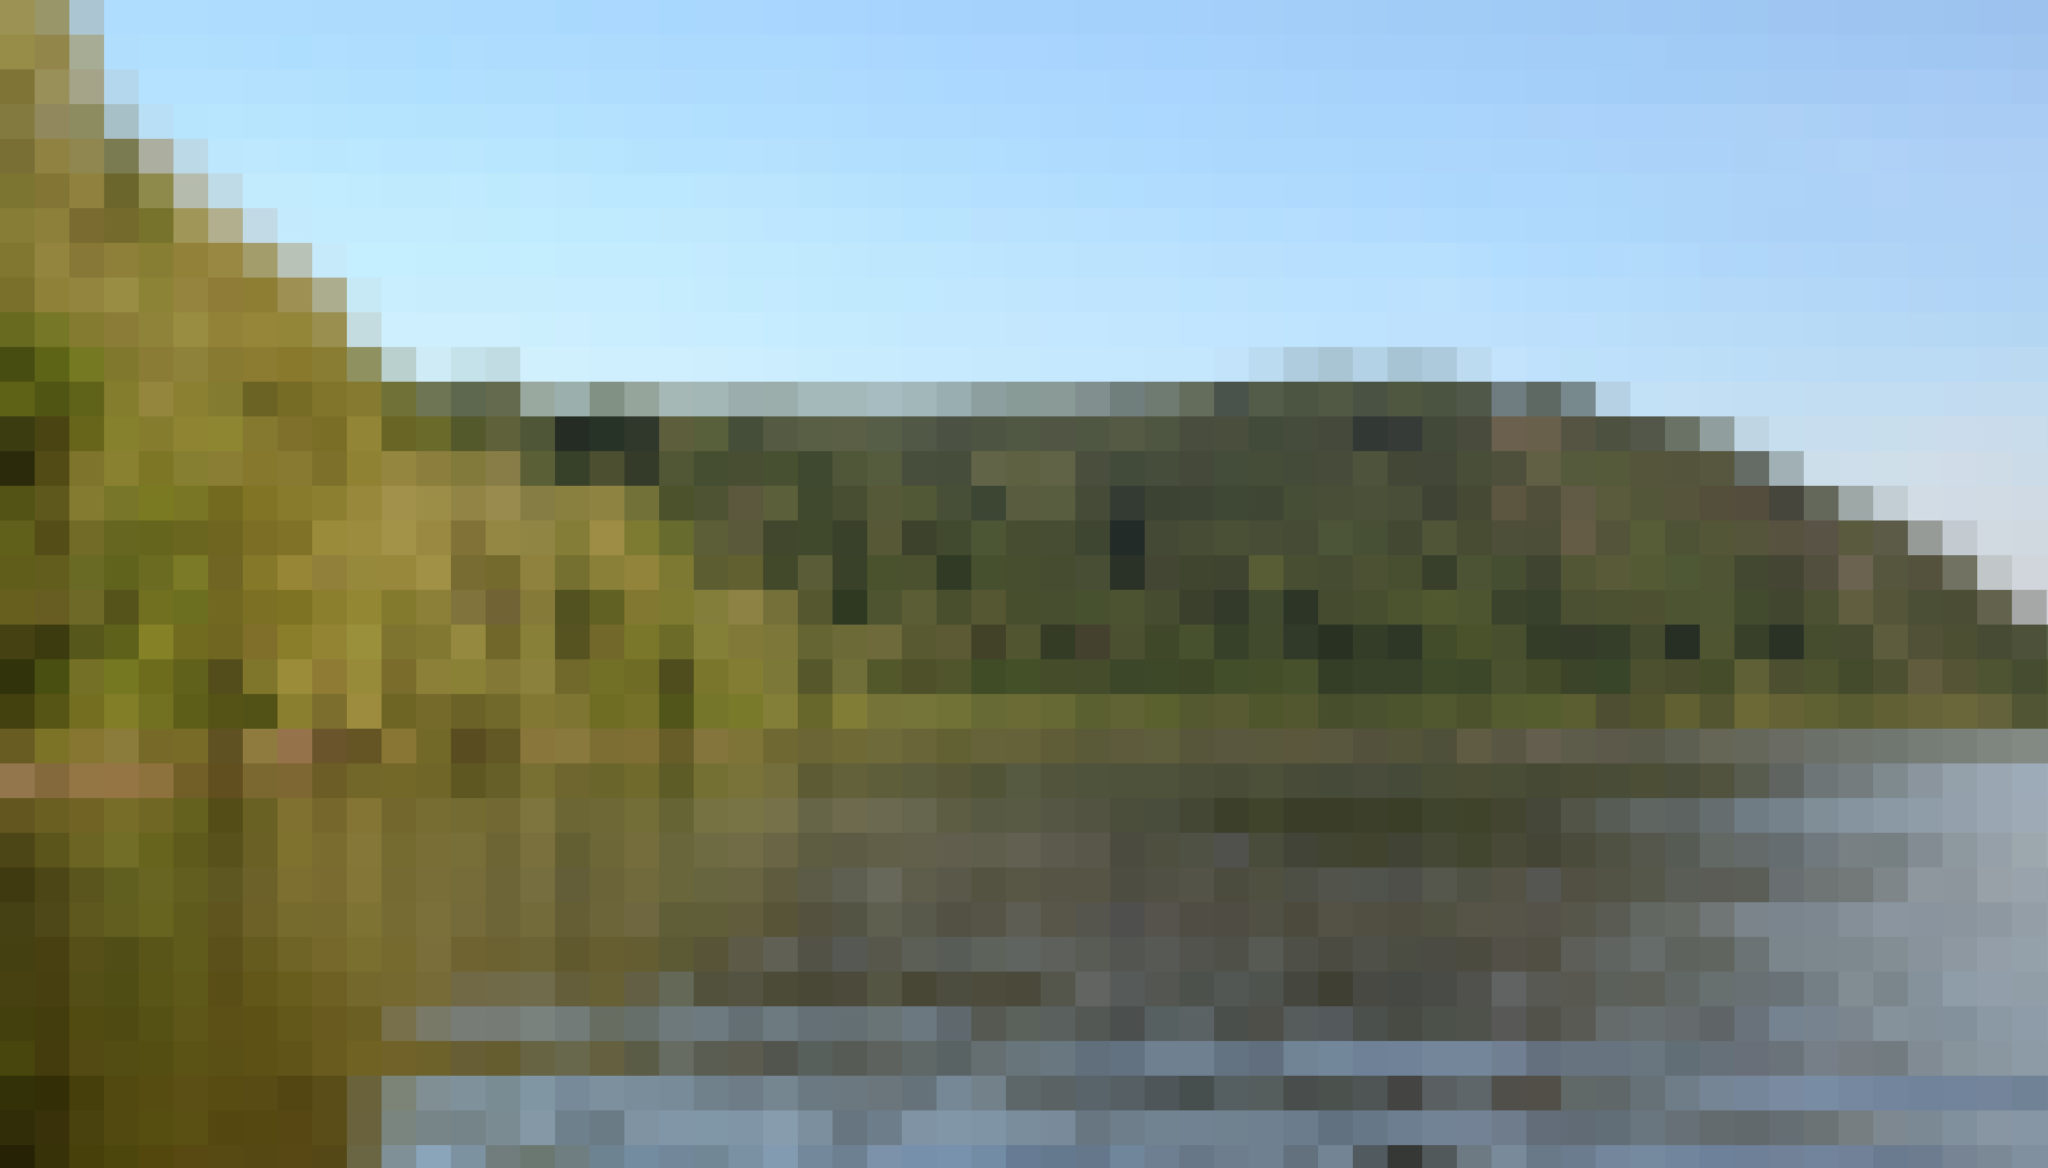
Now that looks a little cooler, something you could maybe use for a wallpaper or a digital looking design.
Let’s try one more filter, go back to your original image and use the filter in Artistic>Oilify
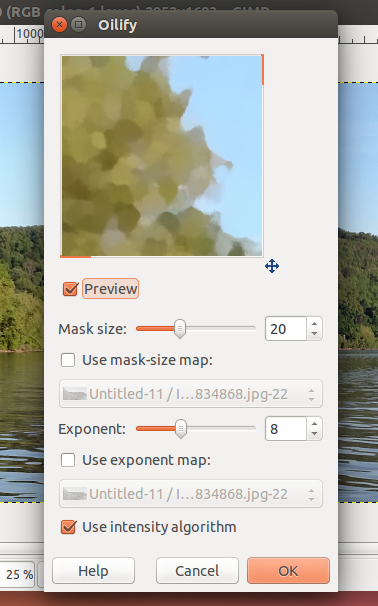
Well this one has some more complicated settings, and this is where you just have to use guesswork and have fun experimenting. I would guess that the default size is too small for this picture, so let’s set it to 20 and see how it looks.
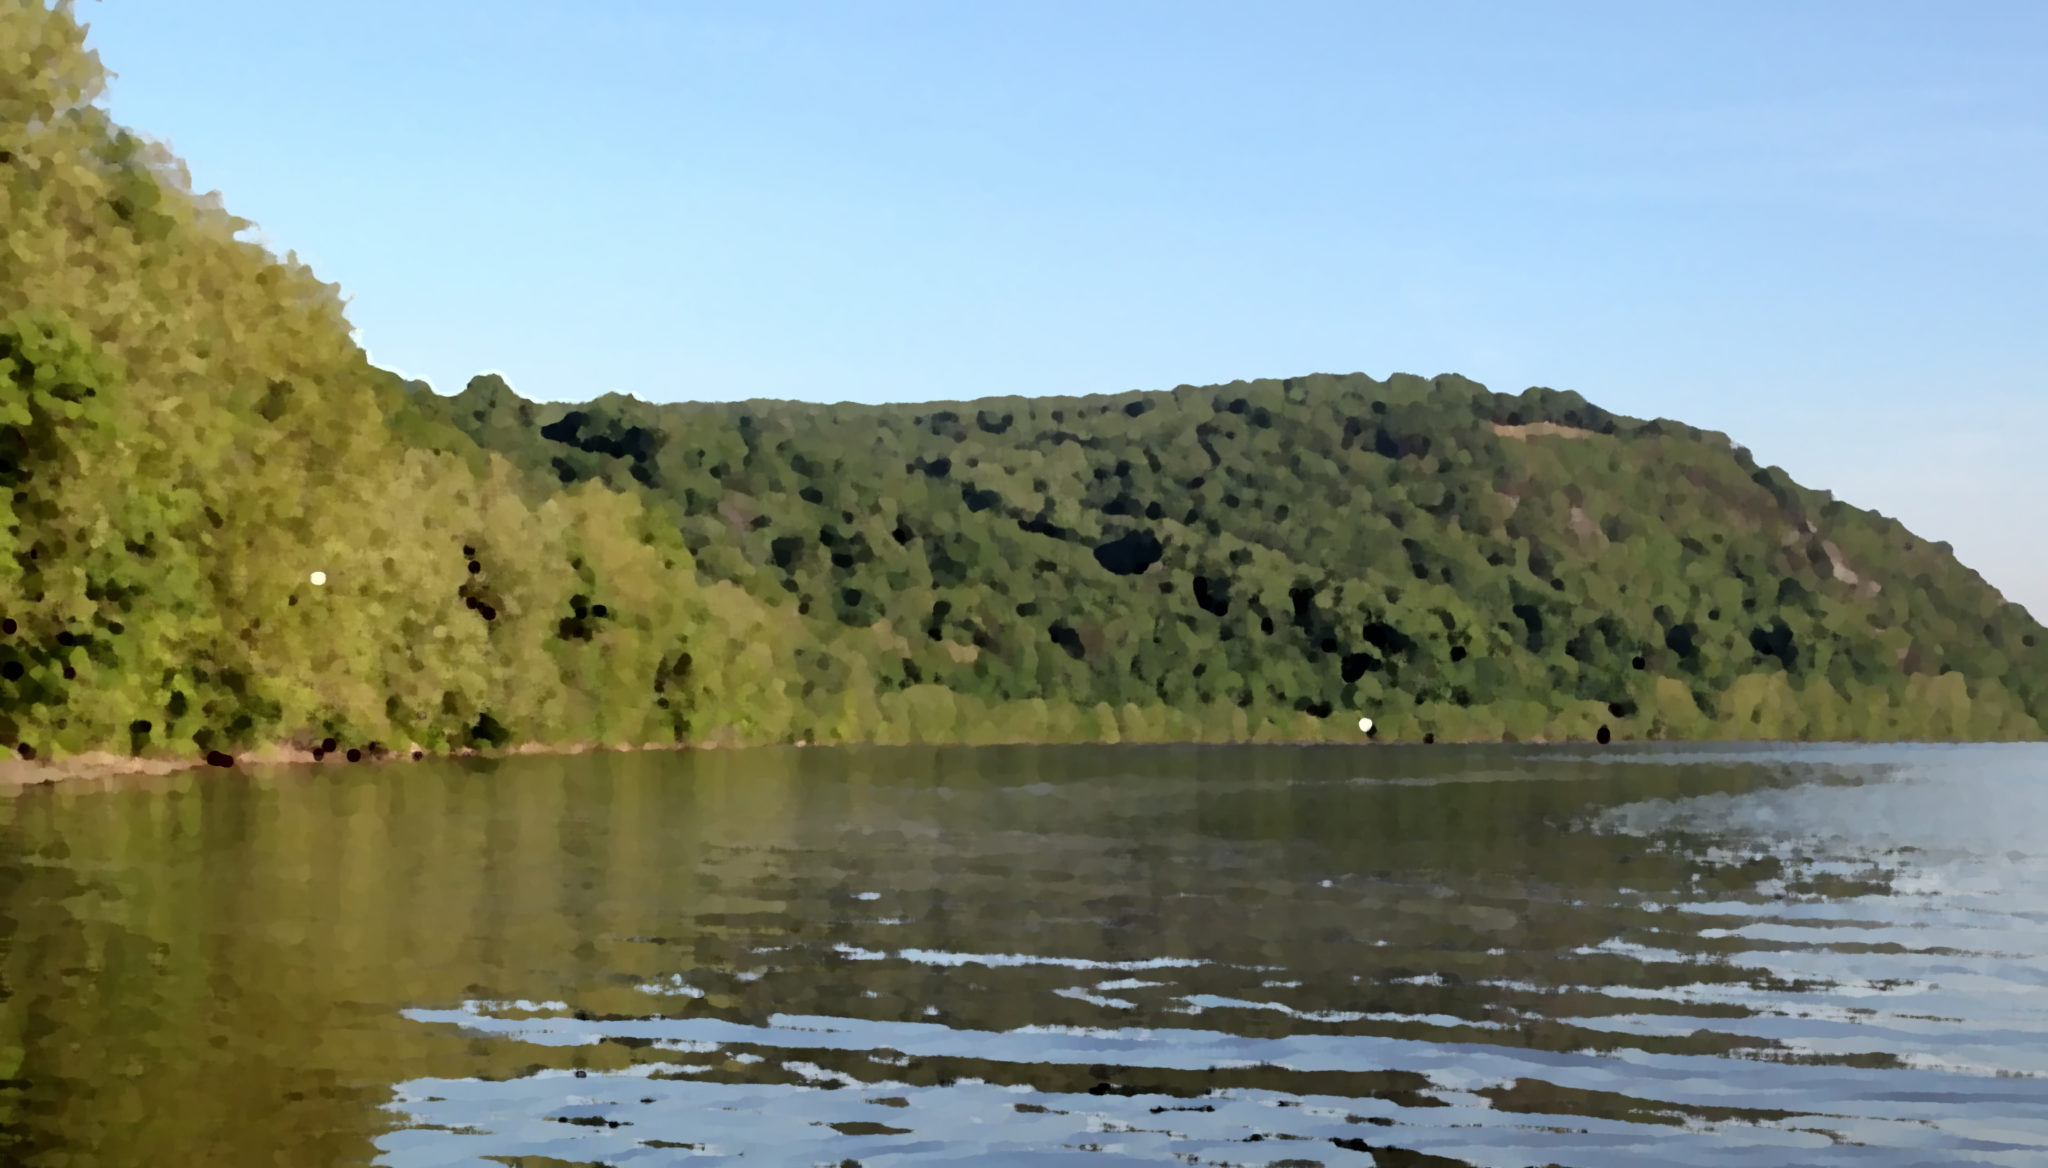 There we go! Looks like a nice oil painting.
Now, in conclusion, there is a lot you can do with filters, and the best way to find it out is to just try them and play with the settings. It can be a lot of fun to experiment and create something at the same time.