
When students receive their 1:1 laptop, there is a default user account titled “User”. Upon the first boot of the laptop after receiving it, the user should be prompted to set a new password for the default account. By default, the user account password is initially set as “password”. It is recommended that students choose a secure and unique password that they can remember for their computer. For any reason, it is also possible to create additional user accounts on the machine. Continue reading for a step-by-step visual walkthrough to create additional user accounts on your 1:1 laptop:
To create an additional user account, start by clicking on the “gear” icon on the system menu bar in the top right corner of the screen. This menu allows the user to access to log out and shutdown the system, as well as access the computer’s settings and connected devices. Next, click on the “System Settings…” option in the menu.

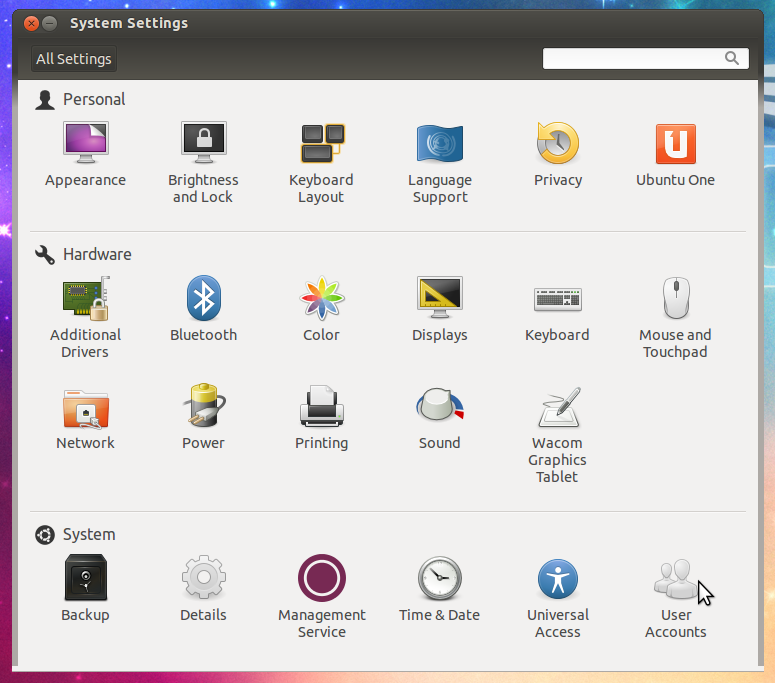
A window titled “System Settings” should appear. Find the “User Accounts” button in the bottom right corner of this window and click it.
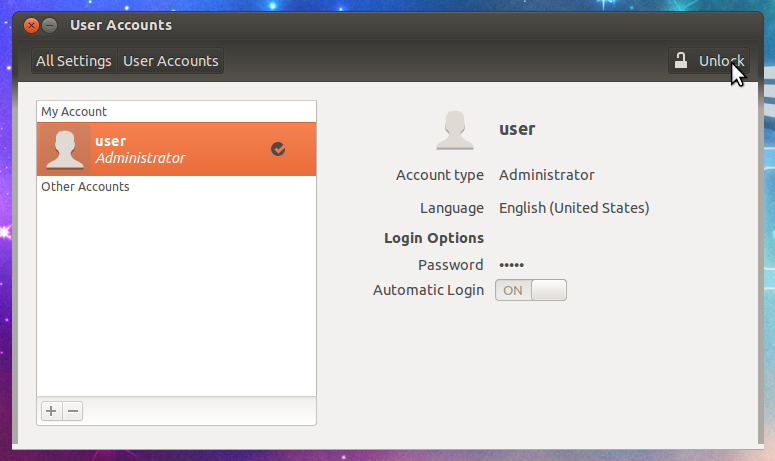
The window will then change to the “User Settings” panel. The current users on the computer are listed on the sidebar on the left. For additional security, system settings are usually locked to prevent accidental changes. It is necessary to click on the “Unlock” button in the top right hand sidebar of the “User Accounts” window and authenticate with your account password.
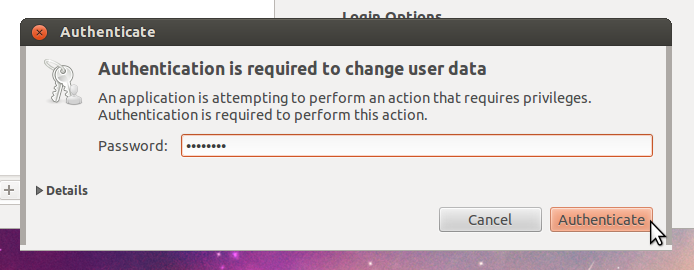
Enter your password in the authentication dialog box that appears and click the “Authenticate” button.
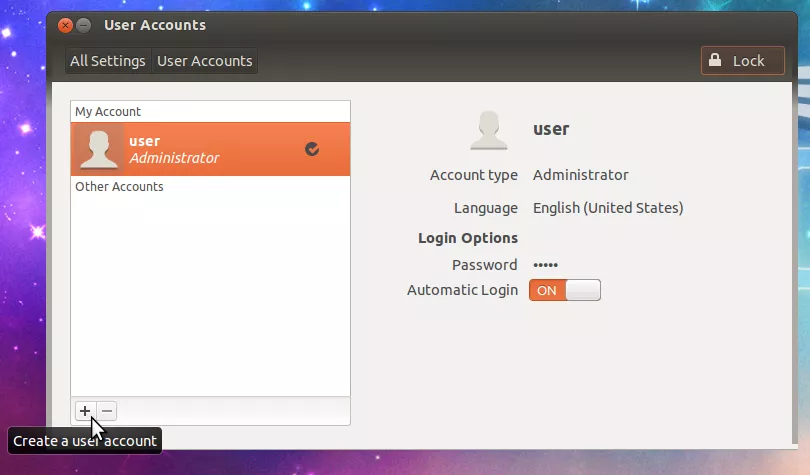
To add a user, click on the plus button at the bottom of the sidebar in the “User Accounts” window.
Another dialog box will appear titled “Create new account”. Click on the dropdown box button to the right of “Account Type” to choose the type of user account that you would like to create. Administrator users have more “privileges” on a system than standard users, this includes changing system settings, etc.

Next, enter the desired full name and username of the user that you wish to add. Click the “Create” button to add the user account to the system. It may take a few seconds to process and create the user.

Upon the successful addition of a user account, the account should be visible in the “User Accounts” window sidebar. Also, from this panel it is possible to remove user accounts, etc.

If you have any issues regarding accessing your user account or adding additional users, please contact student tech support.